
No products in the cart.
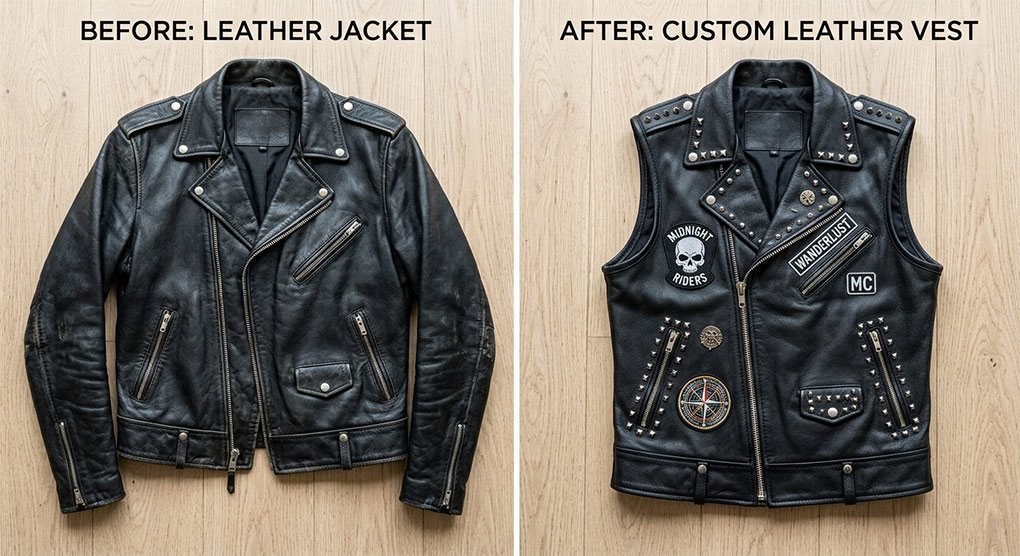
How to Turn a Leather Jacket into a Vest?
An old leather jacket that’s been sitting in your closet can still have a lot of life left in it. Whether it’s out of style, doesn’t fit quite right anymore, or is just collecting dust, you can easily transform it into something new and stylish. Turning a leather jacket into a vest not only gives it a fresh look but also makes it a versatile piece perfect for layering.
Here’s how you can turn that jacket into a leather vest, step by step.
What You’ll Need
- Leather jacket (in good condition)
- Sharp scissors or a rotary cutter
- Measuring tape
- Chalk or washable marker (for marking the cuts)
- Leather needle and heavy-duty thread (optional, for sewing)
- Fabric glue (if you prefer a no-sew method)
- Pins or fabric clips (for holding pieces in place)
- Decorative elements like studs, patches, and paint (optional for customization)
Step 1: Prepare the Jacket
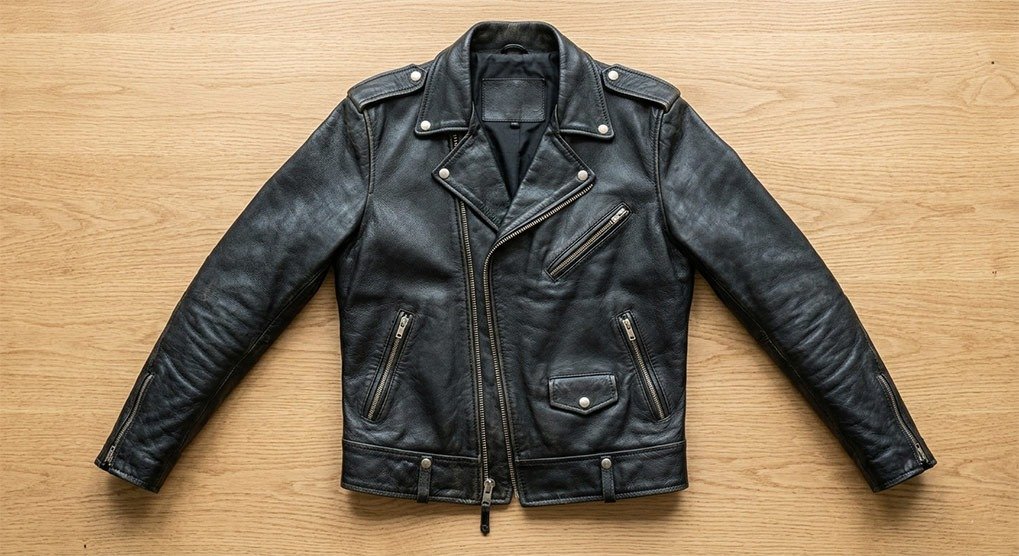
Start by laying your jacket flat on a clean, sturdy surface. Smooth out any wrinkles to ensure a straight, even cut. Before cutting, check the jacket’s condition. The leather should still be flexible. If the jacket is too stiff or cracked, it may not be suitable for this project.
Step 2: Measure and Mark Your Cuts
Measure and mark where you want to make the cuts. Here are the key areas to focus on:
- Shoulder Fit: The shoulder area is important for a good fit, so check that it will still sit comfortably after cutting.
- Armholes: Decide how deep you want the armholes. A more fitted look will have smaller armholes, while a relaxed fit will have larger openings.
- Vest Length: Mark where you want the bottom of the vest to end. You can go for a shorter, waist-length vest or a longer one that hits around the hips.
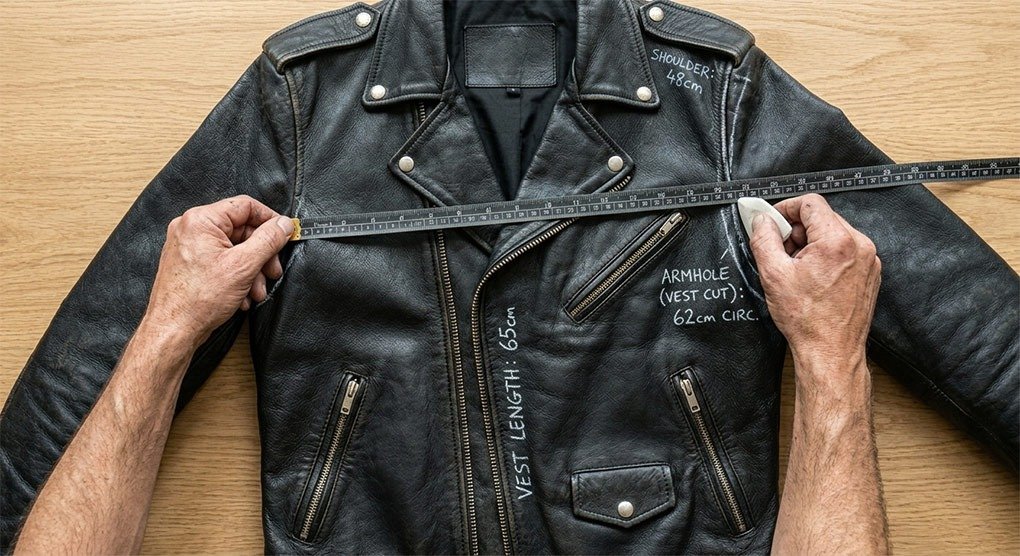
Use chalk or a washable marker to mark your cuts clearly. Make sure both sides are symmetrical.
Step 3: Cut the Sleeves and Sides
Now, carefully cut off the sleeves along the seams. After that, trim along the sides of the jacket, making sure to follow the lines you’ve marked. If you want to keep some structure, leave the seams along the armholes intact, as this can give the vest a more finished look.
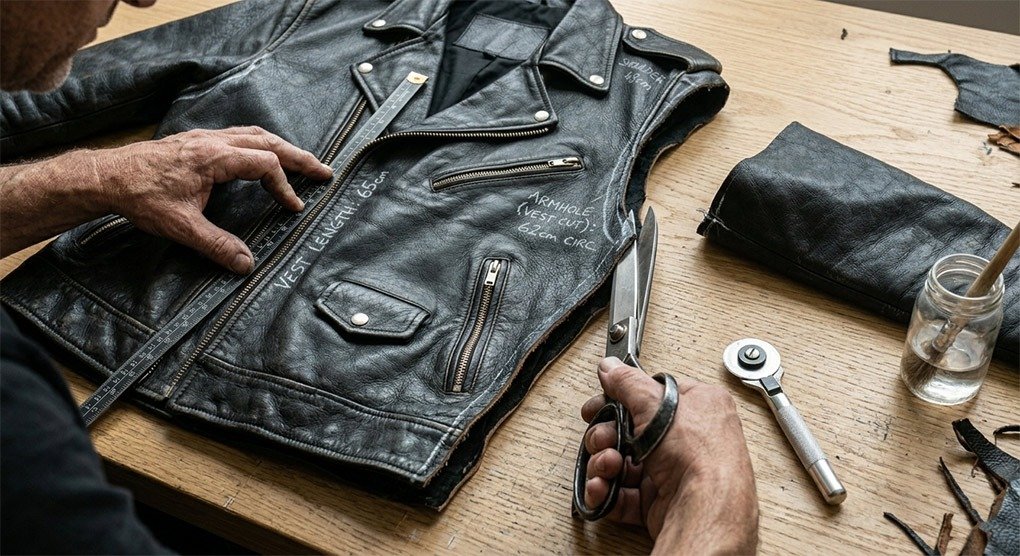
For a more rugged style, you can also cut directly through the seam, leaving the edges raw.
Step 4: Finish the Edges
Once the sleeves and sides are cut, you’ll need to finish the edges to avoid any fraying. You have a few options here:
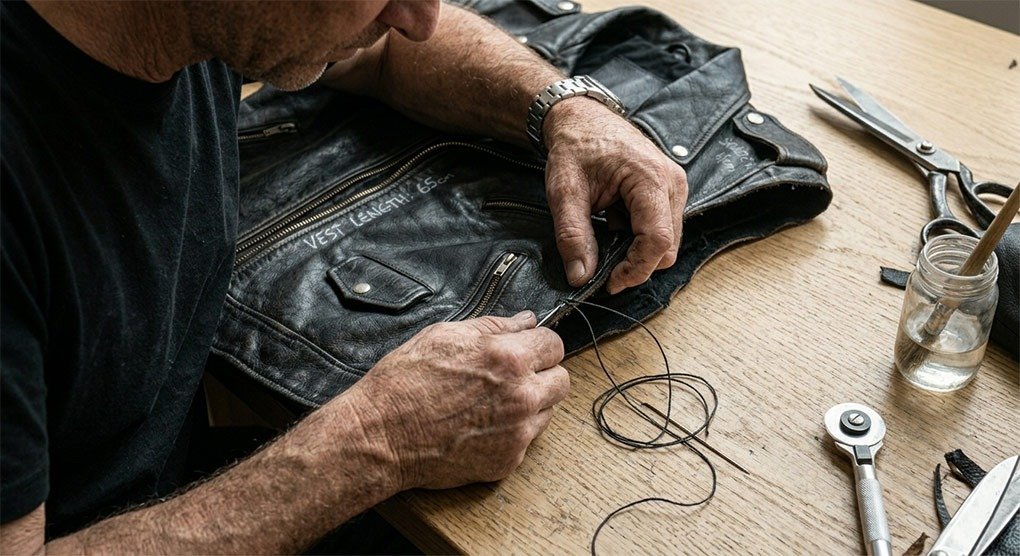
- Sew the Edges: Use a leather needle and heavy-duty thread to sew along the cut edges for a clean, polished finish.
- Fabric Glue: For a quicker, no-sew option, use fabric glue to secure the edges.
- Raw Edges: If you prefer a more rugged look, you can leave the edges raw. This is especially popular for a biker or punk-inspired aesthetic.
Step 5: Customize Your Vest
Once the vest is shaped, it’s time to add your personal touch. Here are a few ideas:
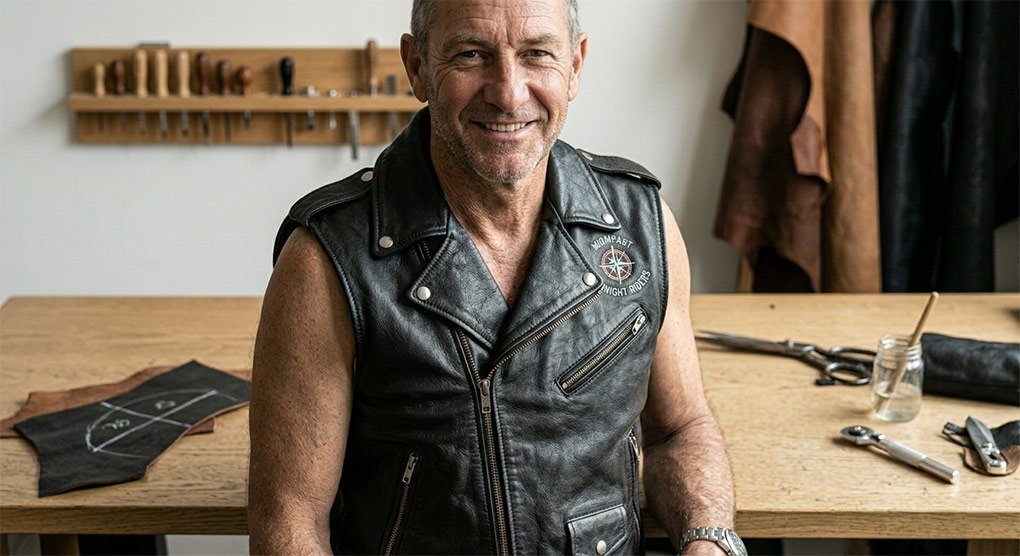
- Patches: Add band patches, embroidered designs, or any patches that reflect your style. These can be sewn or glued onto the vest.
- Studs and Spikes: For an edgier look, attach studs or spikes to the collar, shoulders, or seams. These give the vest a bold, statement-making look.
- Paint or Markers: Use fabric paint or markers to add artwork, band logos, or slogans to your vest.
- Chains and Zippers: Add metal zippers or chains for a more dramatic effect. Attach them to the shoulders, pockets, or back for a unique, punk-inspired flair.
Step 6: Try on Your New Vest
Once the customization is complete, try on your new vest. Check the fit around the shoulders and armholes, making any necessary adjustments to ensure it’s comfortable and sits properly.
Conclusion
Turning a leather jacket into a vest is an easy and rewarding DIY project that gives an old garment new life. It’s a great way to express your personal style while creating a functional, timeless piece. Whether you prefer a clean, tailored look or something more rugged and custom, this simple transformation is the perfect way to breathe new life into a jacket that might otherwise be forgotten. At Leather MC Vest, we believe in the timeless appeal of leather and the power of upcycling. So, grab that old jacket, get creative, and transform it into a unique piece that fits your style perfectly.

About author

Related posts
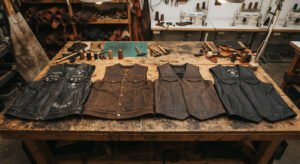
A good leather motorcycle vest comes down to five decisions: the right leather type for your riding style, an accurate chest-based size, a pocket layout... Continue reading
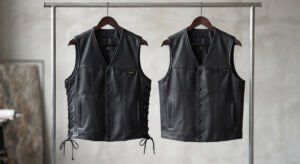
Side-lace vests use adjustable lacing at the ribcage for roughly 3–4 inches of torso adjustment — useful for riders who layer heavily by season or... Continue reading
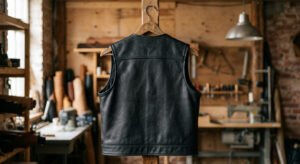
A patch-ready back panel is a single, uninterrupted piece of leather with no vertical center seam, cut from leather in the 2–3oz range (about 0.8–1.2mm)... Continue reading
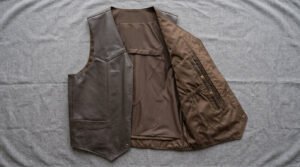
A true CCW-ready vest has one or more interior pockets sized and positioned to hold a holstered handgun at mid-chest level, opening toward the front... Continue reading

In summer, wear the vest alone over a lightweight or moisture-wicking shirt. In fall and spring, layer it over a flannel or thermal shirt. In... Continue reading
Add comment