
No products in the cart.
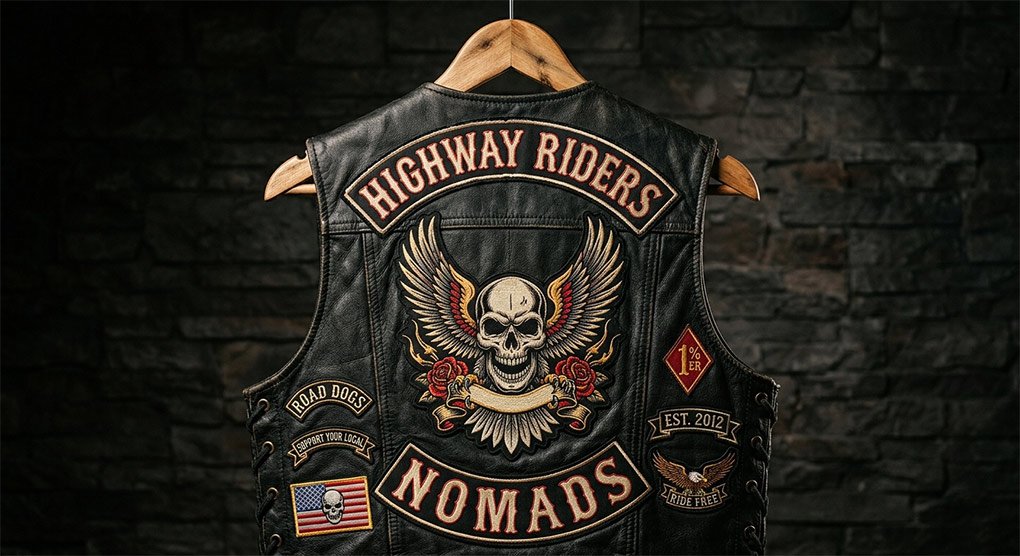
How to Put Patches on a Leather Motorcycle Vest
The patches on a leather vest aren’t decoration, they’re identity. For motorcycle club members, patch placement follows rules that have been established over decades of riding culture. For independent riders, your patches represent your miles, your beliefs, and the road you’ve lived. Either way, attaching them correctly means they stay on, look right, and don’t damage the leather beneath them.
This guide covers everything: patch placement conventions, the right tools for leather, step-by-step sewing instructions, and what not to do if you want your vest to last.
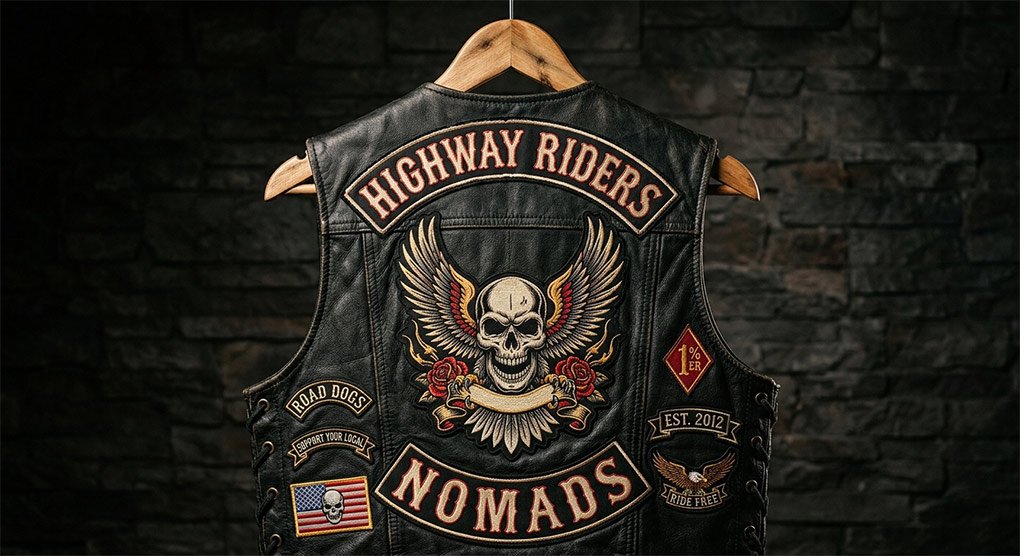
Understanding Patch Placement Conventions
Before you pick up a needle and thread, you need to understand where patches go, especially if you’re part of a motorcycle club.
For MC Members
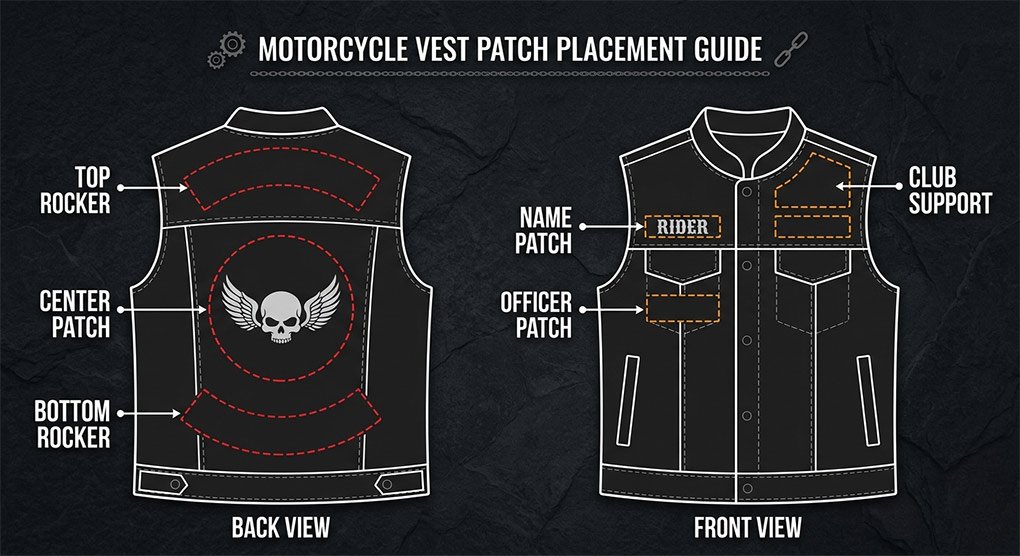
The back of an MC vest is treated as a formal layout. The three-piece patch set is the center of everything:
- Top Rocker: Curved upward along the top of the back, typically displaying the club name.
- Center Patch: The primary club insignia, centered on the back panel. This should be on a one-piece back panel with no seams, seams underneath will distort the patch and look wrong.
- Bottom Rocker: Curved downward along the bottom of the back, typically displaying the state or territory.
These three elements together form the “colors”, the formal representation of the club. The back panel of your vest needs to be large enough and unobstructed to accommodate all three elements in proper proportion.
Front patches have their own conventions: officer patches (President, VP, Road Captain, Sergeant at Arms) typically sit on the left chest. A “1%” diamond patch, if applicable, goes on the right chest. Name patches, support patches, and smaller personal patches fill in around these.
Important: Never display a three-piece patch configuration on a vest if you are not a member of the club. This is a serious breach of motorcycle club etiquette that can have real consequences.
For Independent Riders
If you’re not part of a club, your vest is a personal canvas. You have full freedom of arrangement, with a few general guidelines that keep it looking intentional rather than random:
- Back centerpiece: Your most important or largest patch belongs here. Keep it centered.
- Front chest left: Name patch, home state, or most meaningful personal patch.
- Front chest right: Secondary patches, event badges, or organization patches.
- Shoulders: Flag patches, route patches, or event commemoratives look natural here.
- Lower front panels: Additional personal expression, humor, or achievement patches.
Aim for visual balance. A vest that’s heavy on the left side and empty on the right looks unfinished.
Tools and Materials You’ll Need
Working with leather requires specific tools. Standard sewing needles and regular thread will fail quickly against the thickness and density of a leather vest.
Must-have tools:
- Heavy-duty leather needles (size 18–22 for hand sewing), these have a triangular or spear point that cuts through leather cleanly rather than tearing it
- Waxed polyester thread, stronger than cotton, doesn’t degrade, handles the stress of riding vibration and temperature changes; 0.8mm or 1.0mm diameter works well for vest patches
- A thimble or needle puller, pulling a thick needle through doubled leather and a patch backing will hurt your fingers without one
- Leather punch or awl, for creating clean starting holes in very thick leather
- Sharp scissors, for trimming thread ends cleanly
- Fabric pins or masking tape, for holding patches in position before stitching
- A piece of chalk or a fabric marker, for marking stitch lines
Optional but useful:
- Beeswax block for running thread through (reduces friction and adds water resistance to the thread)
- A leather-compatible sewing machine (if you’re attaching many patches or the vest is particularly thick)
Step-by-Step: Attaching a Patch by Hand
Step 1: Plan Your Placement
Before any needle touches the vest, lay the vest flat on a clean surface and position all your patches where you want them. Step back and look at the overall layout. Adjust for balance and spacing.
Take a photo of the final arrangement before moving anything, this is your reference when you start stitching.
Step 2: Secure the Patch Position
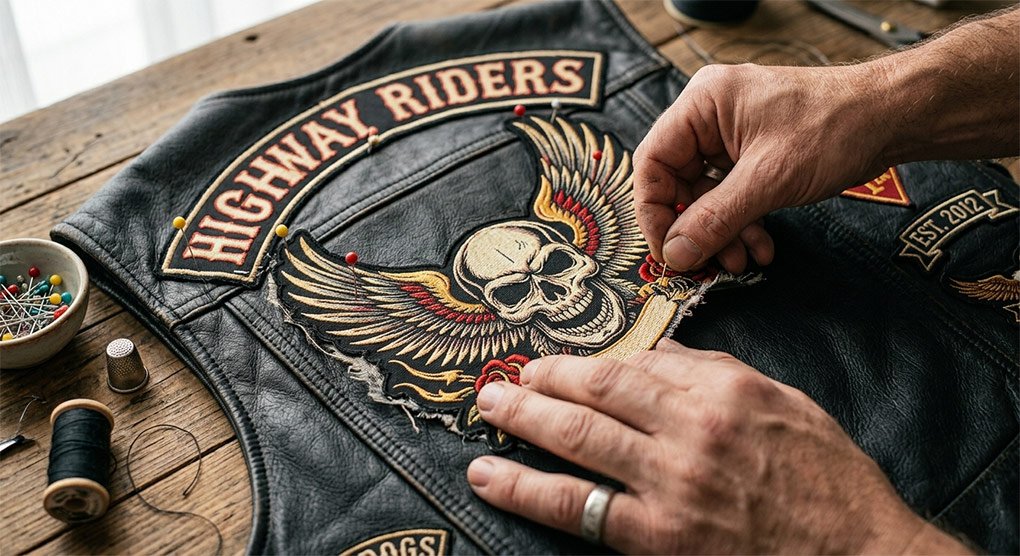
Use fabric pins or strips of masking tape to hold the patch firmly in place. Patches that shift during sewing end up crooked. For a large back patch, use four or more pins, one in each corner and several along the sides.
Do not use iron-on patches on leather. The heat required to activate iron-on adhesive will scorch or permanently discolor the leather surface.
Step 3: Thread and Prepare Your Needle
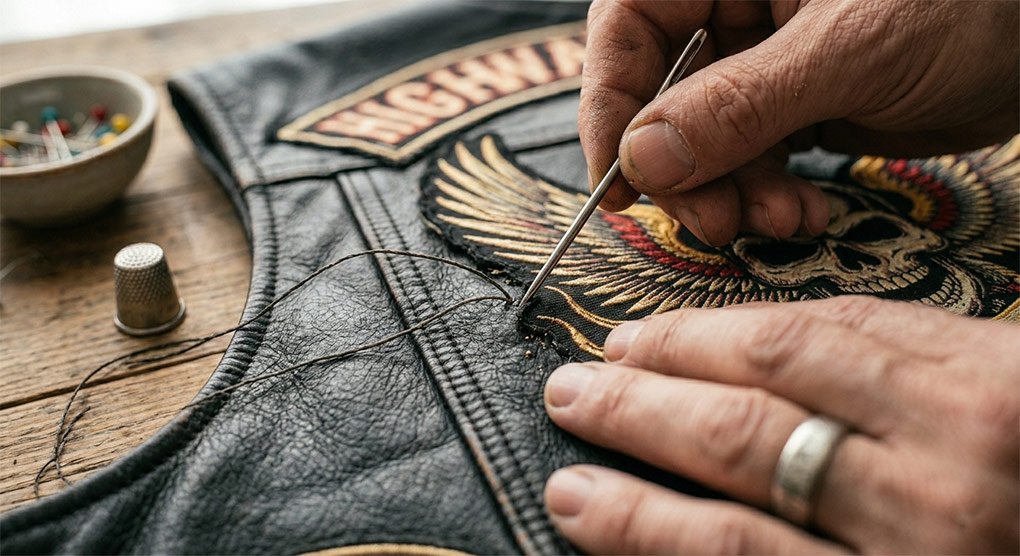
Cut about 24 inches of waxed polyester thread, longer lengths tangle. Thread your needle and tie a solid double knot at one end. Running the thread over a beeswax block reduces friction and makes the thread easier to pull through leather.
Step 4: Start Your First Stitch
Pierce the needle from the inside of the vest outward, through the leather and through the outer edge of the patch. Pull through until the knot stops against the interior leather surface. This keeps the knot hidden inside.
Move approximately 1/8 inch along the patch edge and push the needle back down through the patch and leather. Pull the thread firmly but not so tight it cuts into the leather or bunches the patch.
Step 5: The Stitch Pattern
For most riders hand-sewing patches, a whip stitch or a running stitch around the patch perimeter works well.
- Running stitch: The simplest option, in and out, in and out, around the perimeter. Fast but leaves visible gaps.
- Whip stitch: The needle comes back over the top edge of the patch with each stitch, creating diagonal visible stitches around the perimeter. Stronger and cleaner looking.
- Saddle stitch (two needles): Professional leatherwork standard, two needles, one on each end of the thread, working in opposite directions through the same holes. The strongest option and what professional leather workers use.
Keep your stitch spacing consistent, 1/8 to 3/16 inch apart. Uneven spacing looks sloppy and weakens the hold.
Step 6: Finish and Knot
When you return to your starting point, push the needle back through the last stitch hole from the inside, create a loop, pass the needle through the loop, and pull tight to form a locking knot. Trim the thread end close to the leather surface inside the vest.
Step 7: Double-Stitch the Corners
Patch corners are stress points, they catch wind and get bumped more than any other part. Go back and add an extra pass of stitching at each corner. This small step prevents the patch from peeling back at the corners, which is how most patches fail over time.
Using a Sewing Machine for Patches
A household sewing machine will not work on most leather motorcycle vests, the material is too thick and dense. If you want to use a machine, you’ll need either:
- A heavy-duty or industrial sewing machine with a walking foot (feeds thick material evenly)
- A leather-specific needle (size 18–20)
- Heavy polyester or nylon thread
When machine-stitching, go slow and test on a scrap piece first. Slow stitch speed gives you better control and reduces the chance of the needle breaking or the stitch skipping.
A sewing machine is faster than hand stitching for large back patches, but it’s less forgiving of positioning errors. Once machine-stitched, those holes in the leather are permanent.
What Not to Do
Don’t iron patches on leather. The adhesive won’t hold through riding stress and the heat will damage the leather surface.
Don’t use fabric glue as a permanent solution. Glue can hold patches temporarily for positioning, but it fails under heat and vibration. Riding vibration is surprisingly aggressive on adhesive bonds.
Don’t place large patches over seams. Seams create raised ridges under the patch that make it buckle and separate. Always place major patches on flat, uninterrupted leather panels.
Don’t rush the corner stitching. Corners peel first. Give them extra passes.
Don’t wear conflicting or imitation club patches. This is a safety and respect issue, not just an etiquette one.
After You’ve Patched the Vest
Once all patches are secured, apply leather conditioner around the stitched areas. The punctures from the needle create small stress points in the leather, conditioning keeps those areas soft and prevents cracking around the stitch lines.
Inspect the patch placement at distance and in natural light. Look for any lifted corners or uneven sections, and address them before they become bigger problems.
Conclusion
Attaching patches to a leather vest the right way takes patience and the right tools, but the result, a vest that carries your identity securely and looks exactly the way you intended, is worth every stitch. Take your time with placement, use proper leather tools, double-stitch the corners, and condition the leather afterward. Your patches will ride with you for years.


About author

Related posts
A good leather motorcycle vest comes down to five decisions: the right leather type for your riding style, an accurate chest-based size, a pocket layout... Continue reading
Side-lace vests use adjustable lacing at the ribcage for roughly 3–4 inches of torso adjustment — useful for riders who layer heavily by season or... Continue reading
A patch-ready back panel is a single, uninterrupted piece of leather with no vertical center seam, cut from leather in the 2–3oz range (about 0.8–1.2mm)... Continue reading
A true CCW-ready vest has one or more interior pockets sized and positioned to hold a holstered handgun at mid-chest level, opening toward the front... Continue reading

In summer, wear the vest alone over a lightweight or moisture-wicking shirt. In fall and spring, layer it over a flannel or thermal shirt. In... Continue reading
Add comment